")
Care of ophthalmic surgical instruments
Related content
In Issue No 19 of the Journal of Community Eye Health the article STERILIZATION AND DISINFECTION reminded readers that: ‘ . . . good surgical results are dependent upon sterile instruments, in good working order, used by skilled people . . .’1
This article gives an overview of the principles of surgical instrument care. Both subjects are covered more comprehensively in OPHTHALMIC OPERATING THEATRE PRACTICE: A Manual for Secondary and Tertiary Levels in Developing Countries.

HANDLING OF OPHTHALMIC INSTRUMENTS
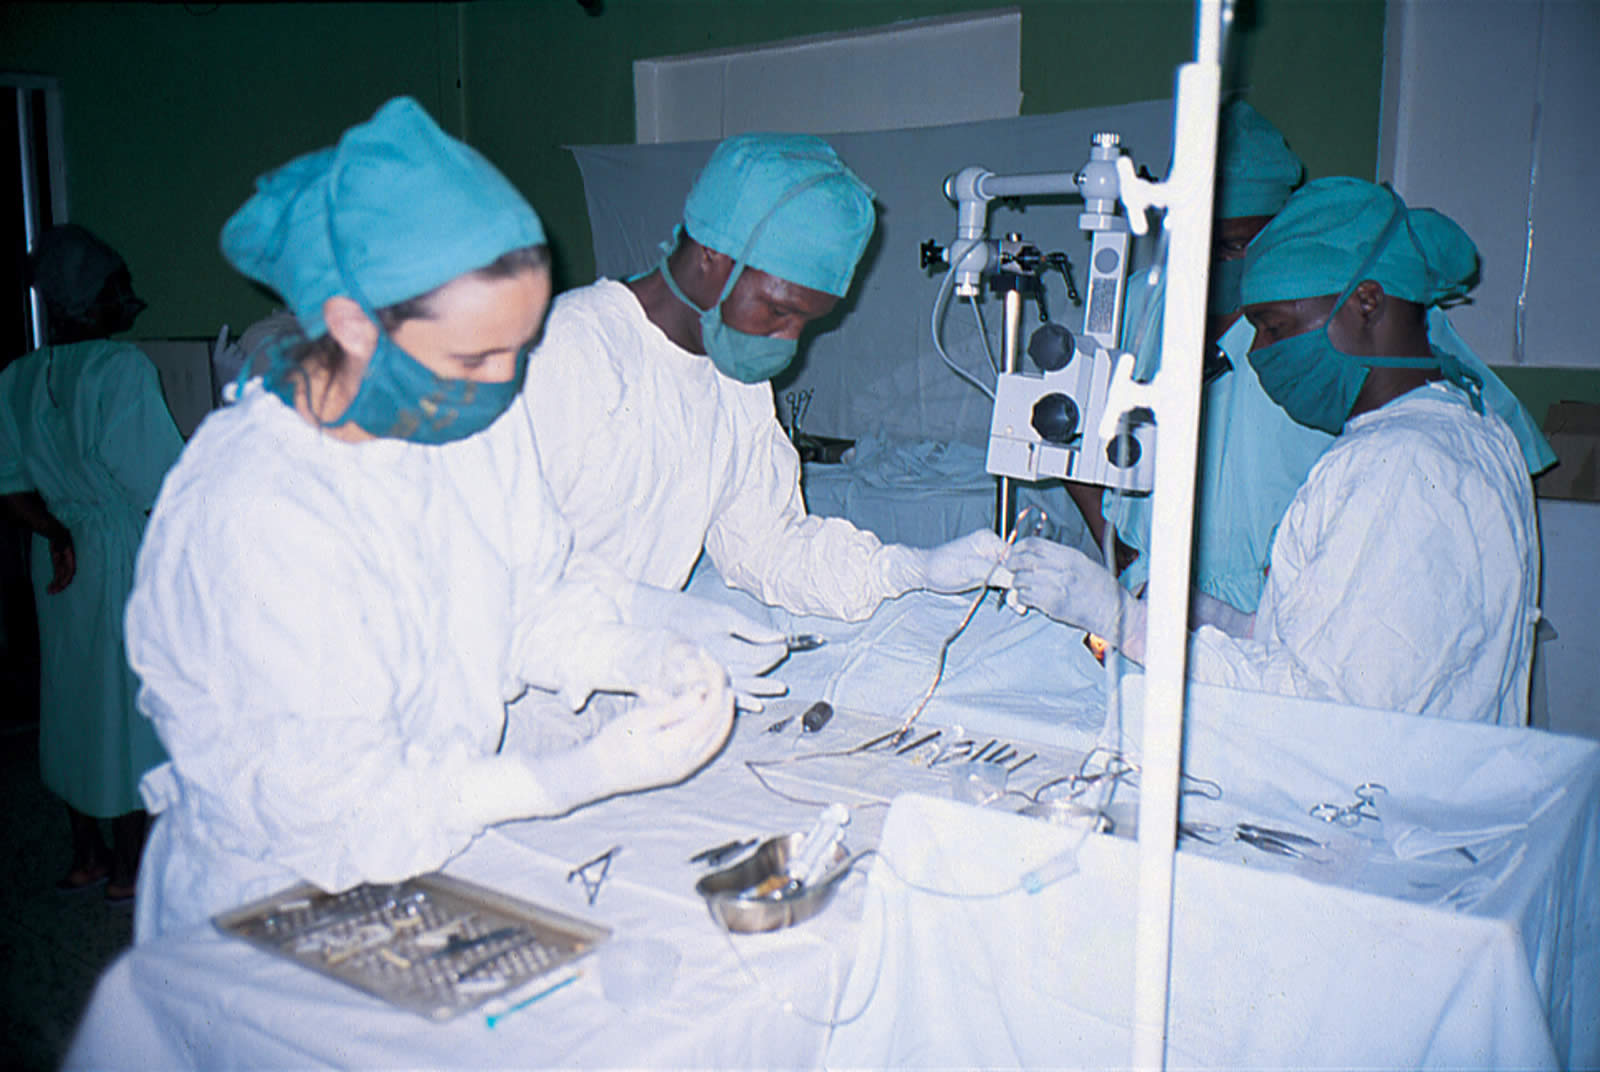
All ophthalmic instruments need exceptionally careful handling.
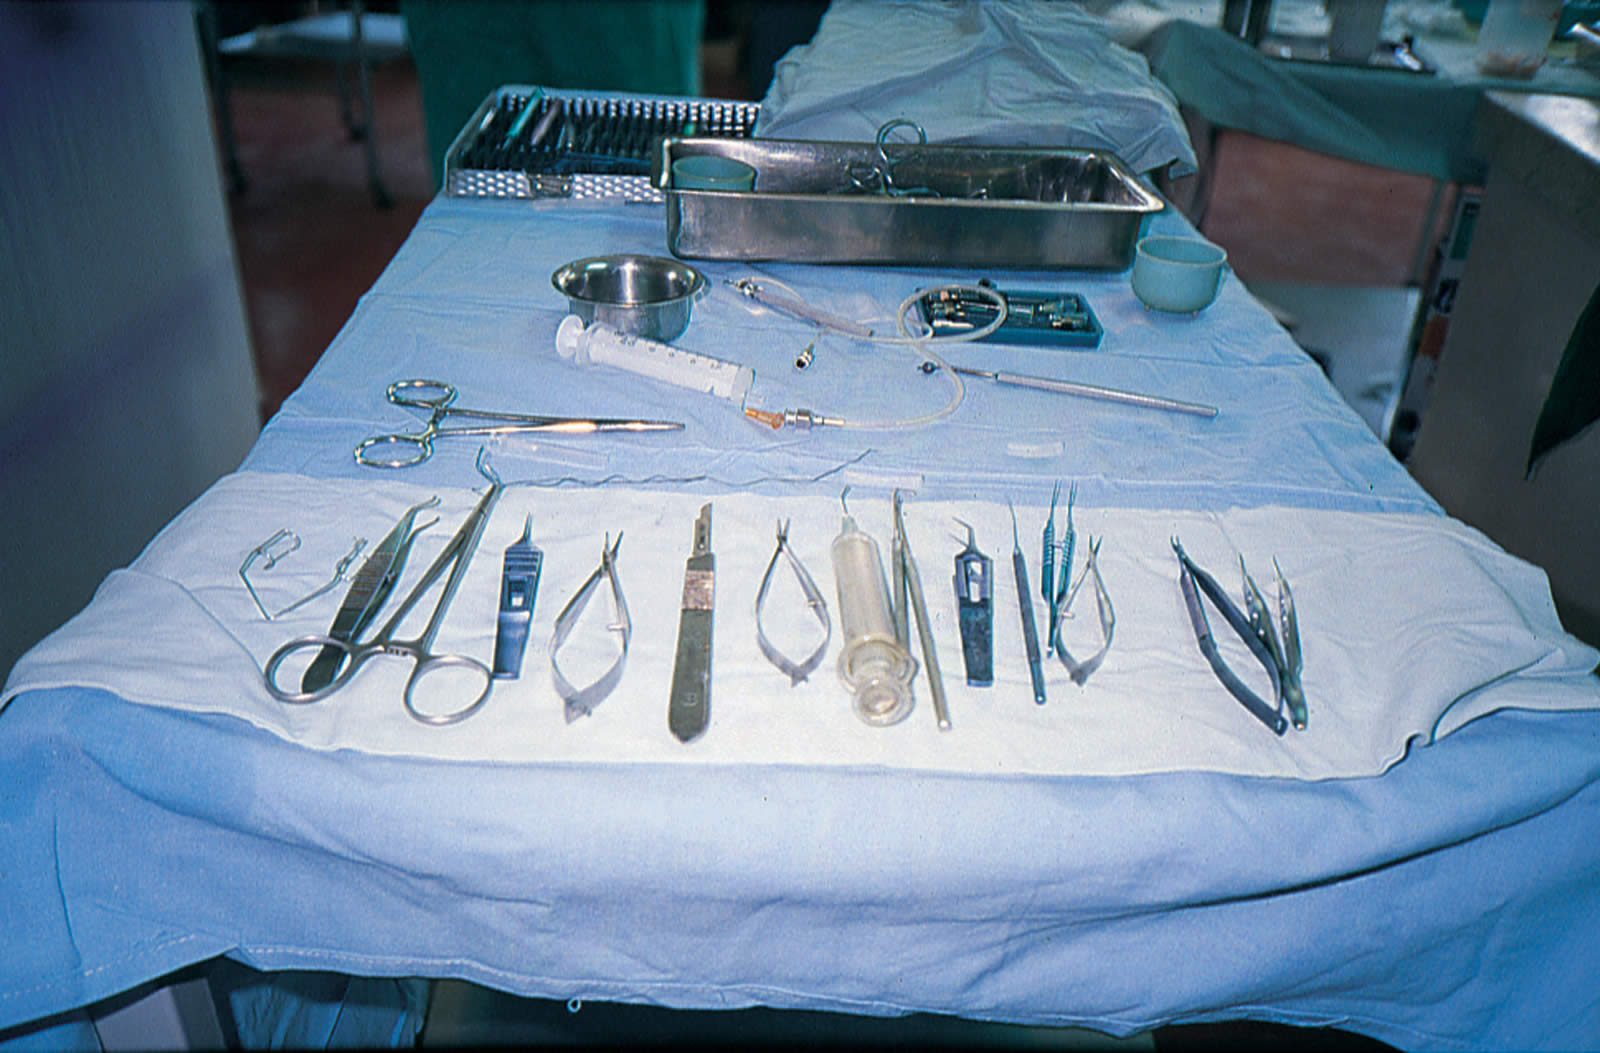
- Scissor points are extremely delicate; the tips should not be touched
- All scissors, needle holders and fine forceps need to have their tips protected The protectors must cover the whole blade or jaws of the instrument
- Scalpel blades and knives must be passed to the surgeon by the handle with the cutting edge pointing downwards. Artery forceps must be used to remove the blade
- No instrument should ever be thrown down! Eye instruments are extremely delicate.
Caution is needed when disposing of needles and other sharp instruments (‘sharps’)
- Needles must be disposed of in the correct receptacle. During the operation, all sharps are kept in a gallipot on the instrument trolley and later disposed of safely; an old infusion bottle or any tough plastic receptacle can be used as a ‘sharps’ container. When the receptacle becomes two-thirds full it should be sealed with tape and incinerated
- Needle stick injuries are frequently caused by re-sheathing disposable needles. This is NOT recommended! These needles should be disposed of immediately after use in the receptacle provided
- Needle stick injuries must be reported immediately to the person in charge. There should be a hospital policy regarding needle stick injuries and this must be followed
- The chances of transmitting the AIDS virus with a needle prick are thought to be 1 in 1000, or higher, in some countries
- Never re-sterilize disposable needles.
MAINTENANCE
Cleaning
Rain water or distilled water is preferred. If neither is available, freshly boiled tap water may be used.
The following method should be used after each operation.
Three containers are required:
Container 1: hot soapy water
- The instrument must be supported carefully whilst cleaning
- A soft toothbrush can be used to clean each instrument individually
- Needle holders, scissors and artery forceps must be completely opened to clean inside the jaws
- Cannulae must be flushed through. Lens matter, vitreous and visco-elastic gel block cannulae permanently
- Cotton wool should not be used to clean instruments as it damages the tips.
Container 2: lubricant
- A lubricant prevents the development of stiff joints and inhibits the development of corrosion
- Lubricant is needed for hinged instruments only, e.g., scissors, needle holders and artery forceps
- The instruments are dipped, one by one, into the lubricant; they must NOT be soaked
- If a lubricant is not available, the instruments should be rinsed in clean hot water
- Do NOT put cannulae in lubricant.
Container 3: clean hot water
- Excess lubricant or soap is rinsed off and the instrument left in the open, dismantled position on a clean absorbent cloth
- Cannulae must be flushed through again to remove any soap debris.
Drying
- Instruments must be dried thoroughly before being stored. If the instruments are put away wet or damp they will rust
- A hair dryer is very effective for drying the joints and crevices of instruments. If a hair dryer is not available, dry gauze may be used cautiously
- Never force open a forceps even when drying, as this will distort the instrument.
Inspection
Before storing, all instruments should be carefully inspected, as follows:
- Hinged instruments should be checked for jaw alignment
- Micro-scissors should be able to cut through one thickness of surgical glove. The tips should be smooth and in alignment
- Dissecting forceps should meet at the tips and be aligned
- Grooved forceps, when held up to the light, should show a perfect circle at the tips. The forceps should be symmetrical
- Needle holder tips must meet allowing for the suture to be held well. There should be no gap between the jaws. The needle holder should open and close smoothly
- Blades should retain a sharp, smooth edge
- Cannulae should be flushed with air to ensure patency and dryness.
Corrosion and rust
Corrosion and rust is caused by:
- Inadequate cleaning, rinsing and drying
- Using tap water
- A malfunctioning autoclave.
Most instruments are made from stainless steel. Stainless steel does not usually rust. However, it can corrode if it is washed in saline or left to soak for a long period of time in any liquid.
Once the instrument has started to rust it will become weak, and the rust will eventually destroy and break the instrument (metal fatigue).
Rust commonly occurs on chrome or nickel-plated instruments. When the plating wears off, the carbon steel is exposed and is further corroded by autoclaving and washing. If this occurs the instruments cannot be sterilized properly.
Inexpensive instruments tend to rust more easily as the stainless steel is of a poorer quality.
Sodium nitrate is an anti-rusting agent and can be used in conjunction with the lubricant or on its own. Two tablets can be dissolved in 500ml of water, when washing the instruments.
Instrument stains
Thorough inspection may reveal discolouration of the metal. Some stains can be rubbed off with a rubber eraser but it may leave a rough surface. Contact with hydrochloric acid and iodine should be avoided.
Instruments not rinsed thoroughly after chemical sterilization will stain. Manufac turer’s recommended soaking times must not be exceeded.
Oiling
With repeated sterilization, instruments will become stiff and difficult to open. A good quality sewing machine oil or silicone oil should be used each week on hinged instruments. This is especially relevant when working in a very hot, dry climate.
- Use a 2ml syringe and 21G needle to draw up the oil
- Change to a 25G needle, open the instrument and place a drop in the jaws.; work in the oil by repeatedly opening and closing the instrument
- Wipe off any surplus oil with gauze.
Surplus oil on an instrument will inhibit sterilization. Using an instrument lubricant will help to maintain the action of the instrument but oiling is still necessary.
Repairs
Eventually scissors will need sharpening, forceps re-aligning, etc. Instrument companies will repair and re-sharpen instruments to a high standard but repairing instruments takes time. The cost of a good repair is much cheaper than buying a new instrument.
STORAGE AND TRANSPORTATION
Shelving
Glass shelving is preferred, as it is easy to keep clean. Ideally, instruments need to be in a dry, well ventilated, secured cupboard. A drying agent, e.g., silicone gel can be placed on the shelves to absorb moisture in the air.
- The instruments must be arranged in an orderly manner and labelled
- Protectors should be used when instruments are in storage
- Never pile instruments on top of each other!
- Micro-scissors work on a spring action and are kept in the open position until in use
- Needles and cannulae can be sterilized ready for use on a silicone mat or a thick piece of material.
Instrument Trays
Individual slots in the tray hold one instrument; this prevents the instruments touching. Trays are useful for transporting instruments, e.g., to outreach clinics and the sets are ready immediately for sterilization. Protectors must be used.
Instrument Rolls
This is a length of material with pockets to hold an individual instrument. The roll is tied with a piece of string to keep it secure. Instrument rolls are cheap, easy to make and are excellent for transportation purposes. Protectors must be used.
Instrument Cases
These cases are metal or plastic boxes containing a protective silicone mat which prevents the instruments touching during storage and sterilization.
SECURITY
Ophthalmic instruments are very expensive and delicate. It is therefore necessary to ensure a secure place to store the instruments when not in use.
- Storage shelves should be in a locked cupboard
- New members of theatre staff should be instructed carefully in the care and maintenance of theatre instruments
- A person of integrity should be made responsible for the care of instruments
- An inventory of all instruments should be carried out monthly to ensure that there are no discrepancies
- Any instrument that is faulty must be removed immediately from the theatre and sent for repair
- The operating theatre should be locked and windows shut when not in use.
References
1 Stevens S, Cox I. Sterilization and Disinfection. J Comm Eye Health 1996; 9: 36-42.
2 Ophthalmic Operating Theatre Practice : A Manual for Secondary and Tertiary Levels in Developing Countries. Ingrid Cox, Sue Stevens. International Centre for Eye Health. In Press.